Introduction
Roguelike game development has been an objective of mine for a long time. I’m a big fan of the genre. I discovered it thanks to Rogue and Angband, and through more recent evolutions like The Binding of Isaac.
The features that got me hooked on the genre are:
- Infinite replayability
- Random dungeon generation
- Thousands of different scenarios and settings
- No saving system
- Permanent death
- ASCII art or basic tilesets (old style only, maybe?)
- Limited field of view
But some of these are also interesting topics from a programming perspective, aren’t they?
What about Zig? I discovered it through my day-to-day job because we’re using TigerBeetle, which is based on Zig. I already built something with this language in the previous months, a CHIP-8 interpreter, another small but fun project in the world of emulation! Since I wanted to write something in the realm of game development and learn more about the language, I thought this combination could work well.
Disclaimer: I’m not a Zig expert; I just tried to have fun while exploring a programming language. So the code won’t have peak performance or any kind of optimizations.
And if you just want the code, here it is…
How I Approached the Project
Game Design
In the world of roguelike development, there’s a famous tutorial built upon a C++ framework called libtcod, which also has a Python overlay called python-tcod. I didn’t follow it line by line, but I skimmed through each tutorial section just to have a kind of todo list so I could write my own version using my own engine. Also, there are well-known algorithms used inside those libraries, so I took the opportunity to write my own versions of those algorithms for learning purposes.
I didn’t develop any complex functionality like quests or dialogues. It’s just a plain simple loop of exploration, combat, picking potions, picking armor, more exploration, more combat, and so on. Enemies have a simple AI that basically makes them move if the player is within a given range and attack the player if adjacent.
Tech Stack
Of course, Zig is the language I wanted to play with, so nothing new there. Then I had to choose a graphics library to open a window and draw on it. I ended up using raylib just because I was more familiar with it. To be clear, I used the Zig version of Raylib, so I could use a more Zig friendly API.
Regarding AI tools, I tried Claude only for building the boring UI parts: their positions, colors, text content, etc. I also found it quite useful for thinking about game design or architecture decisions, mainly having some kind of feedback on the choices I wanted to implement.
The Overall Experience
Managing the Project
I started with a big single main.zig file with only the main function, mainly because I had to instantiate things like an allocator only there without needing to pass it to external functions or modules. After implementing a couple of features, I started breaking everything up into several files, roughly one per component or feature.
In Zig, every file is a namespace per se, and sometimes I felt it to be quite annoying to give names to imported files because more than once the imported filename conflicted with a variable name. For example, an imported file named enemies would conflict with the enemies variable. I had to find alternative names for imports like enmies or enemies_module.
Apart from this minor issue, I had a good time managing the project as it grew. There’s no strange or complex namespace and module logic to deal with.
So right now the project structure looks like this:
root/
├── resources/
│   └── tileset.png
├── src/
│   ├── game.zig
│   ├── assetstore.zig
│   ├── ...
│   └── tests.zig
├── build.zig
├── build.zig.zon
└── README.md
Manual Memory Management
Zig’s Allocator concept is quite new to me. I’m familiar with C and C++ memory management strategies and the “I don’t handle memory myself” JVM way of doing things. I found it really balanced between a low-level API and a high-level one, giving you enough options to choose from while being clear about where the Allocator is needed by requiring it as a function parameter. The testing part of the standard library has an Allocator itself… Really nice, I must say.
On the other hand, this is a project that doesn’t fully focus on performance or bare metal programming, so doing manual memory management wasn’t particularly interesting. I mostly used std.ArrayList most of the times I needed a collection of items.
pub const Map = struct {
    width: i32,
    height: i32,
    tiles: std.ArrayList(Tile),
    rooms: std.ArrayList(Room),

    // pub fn init(...) ...
};

try std.ArrayList(Tile).initCapacity(allocator, @intCast(width * height));
Not a big deal. I think the only place where I had to manually use allocators was inside the AssetStore, which is a kind of asset handler used mainly for textures but extensible to audio and other resources.
pub fn addTexture(self: *AssetStore, texture_id: []const u8, texture_path: [:0]const u8) !void {
    const owned_key = try self.allocator.dupe(u8, texture_id);
    errdefer self.allocator.free(owned_key);

    const texture = rl.loadTexture(texture_path) catch |err| {
        self.allocator.free(owned_key);
        return err;
    };

    try self.textures.put(owned_key, texture);
}
Fun Algorithms
One of the key learning points of this project was exploring the algorithmic side of roguelikes. I tried to implement my own versions of some of the algorithms used in the Roguelikedev tutorial.
Random Generation
This is the most interesting algorithm because it involves the actual creation of a random walkable map. There are LOTS of implementations out there, and I stumbled upon some really clever ones like the approach used in some games where there are sets of pre-created rooms that are combined together to create a different level each time generation is required.
But since I wanted to keep everything quite simple, I chose to implement a basic approach:
- Given a number of columns and rows
- Given a grid made from the above columns and rows
- Fill it with walls
- Iterate over a range of numbers (let’s say 1-10, where 10 is the max number of rooms to have):
- Create a room: carve it in a random position inside the map
- If it’s the first room, store its center coordinates so we can place the player there
- From the second room on, try to connect it to the previous room by carving a corridor
- Place an enemy at the center of the room
- Place a potion/armor/weapon with an arbitrary spawn chance in a random walkable room tile
And that’s it. Nothing too complex, but in fact super effective.
To create interesting corridors, a fun approach is to randomly select one of the two possible L-shaped tunnels:
if (std.crypto.random.boolean()) {
    self.carveHorizontalTunnel(x1, x2, y1);
    self.carveVerticalTunnel(y1, y2, x2);
} else {
    self.carveVerticalTunnel(y1, y2, x1);
    self.carveHorizontalTunnel(x1, x2, y2);
}
Spawning random objects is also enjoyable:
if (std.crypto.random.intRangeAtMost(u8, 1, 100) <= 60) {
    const item_pos = getRandomWalkablePositionInRoom(new_room);
    // 40% chance for health potion, 30% chance for sword, 30% chance for helmet
    const roll = std.crypto.random.intRangeAtMost(u8, 1, 100);
    const new_item = if (roll <= 40)
        item.Item.healthPotion(item_pos.scale(16.0))
    else if (roll <= 70)
        item.Item.sword(item_pos.scale(16.0))
    else
        item.Item.leatherHelmet(item_pos.scale(16.0));

    try items.append(new_item);
}
Player’s Field of View
To give a sense of peril and mystery to the player, introducing a Field of View (FOV) does quite the trick. From an algorithmic perspective, it’s also quite interesting because you need to compute and “imagine” a kind of circle that has the player at its center.
It has some peculiarities that make it not so straightforward to implement:
- Tiles can block the player’s visibility, which means that given a radius (which can be arbitrarily large), if a series of walls enter inside its range, you must show them but you must limit whatever appears behind those walls
- The circle won’t be a perfect one, of course, because it needs to be clamped to a square-ish form
- At each loop cycle, there will be VISIBLE tiles and VISITED tiles. The player can see what is in range, and a blurred/greyed version of what they have visited before. This gives the player an enhanced exploration experience
This is probably the most interesting part from an algorithmic perspective. Raycasting is required because we need to understand if a tile is visible within a radius, and after that we determine which are the visited tiles and the visible tiles. The circle’s area formula is needed here, as well as some knowledge of raycasting.
pub fn computeFOV(
    allocator: std.mem.Allocator,
    center: Point,
    radius: i32,
    m: map.Map
) !std.AutoHashMap(Point, void) {
    var visible = std.AutoHashMap(Point, void).init(allocator);

    const candidates = try pointsWithinRadius(allocator, center, radius);
    defer candidates.deinit();

    for (candidates.items) |target| {
        var ray_tiles_coordinates = try castRay(allocator, center, target, m);
        defer ray_tiles_coordinates.deinit();

        for (ray_tiles_coordinates.items) |coordinate_point| {
            const tile = m.getTile(coordinate_point.x, coordinate_point.y).?;
            try visible.put(coordinate_point, {});
            if (!tile.transparent) break;
        }
    }

    return visible;
}
A list of candidates is generated by determining which points are within radius, and then for each of them we collect the coordinates of the tiles that compose the ray from the center point (the player) to the candidate point.
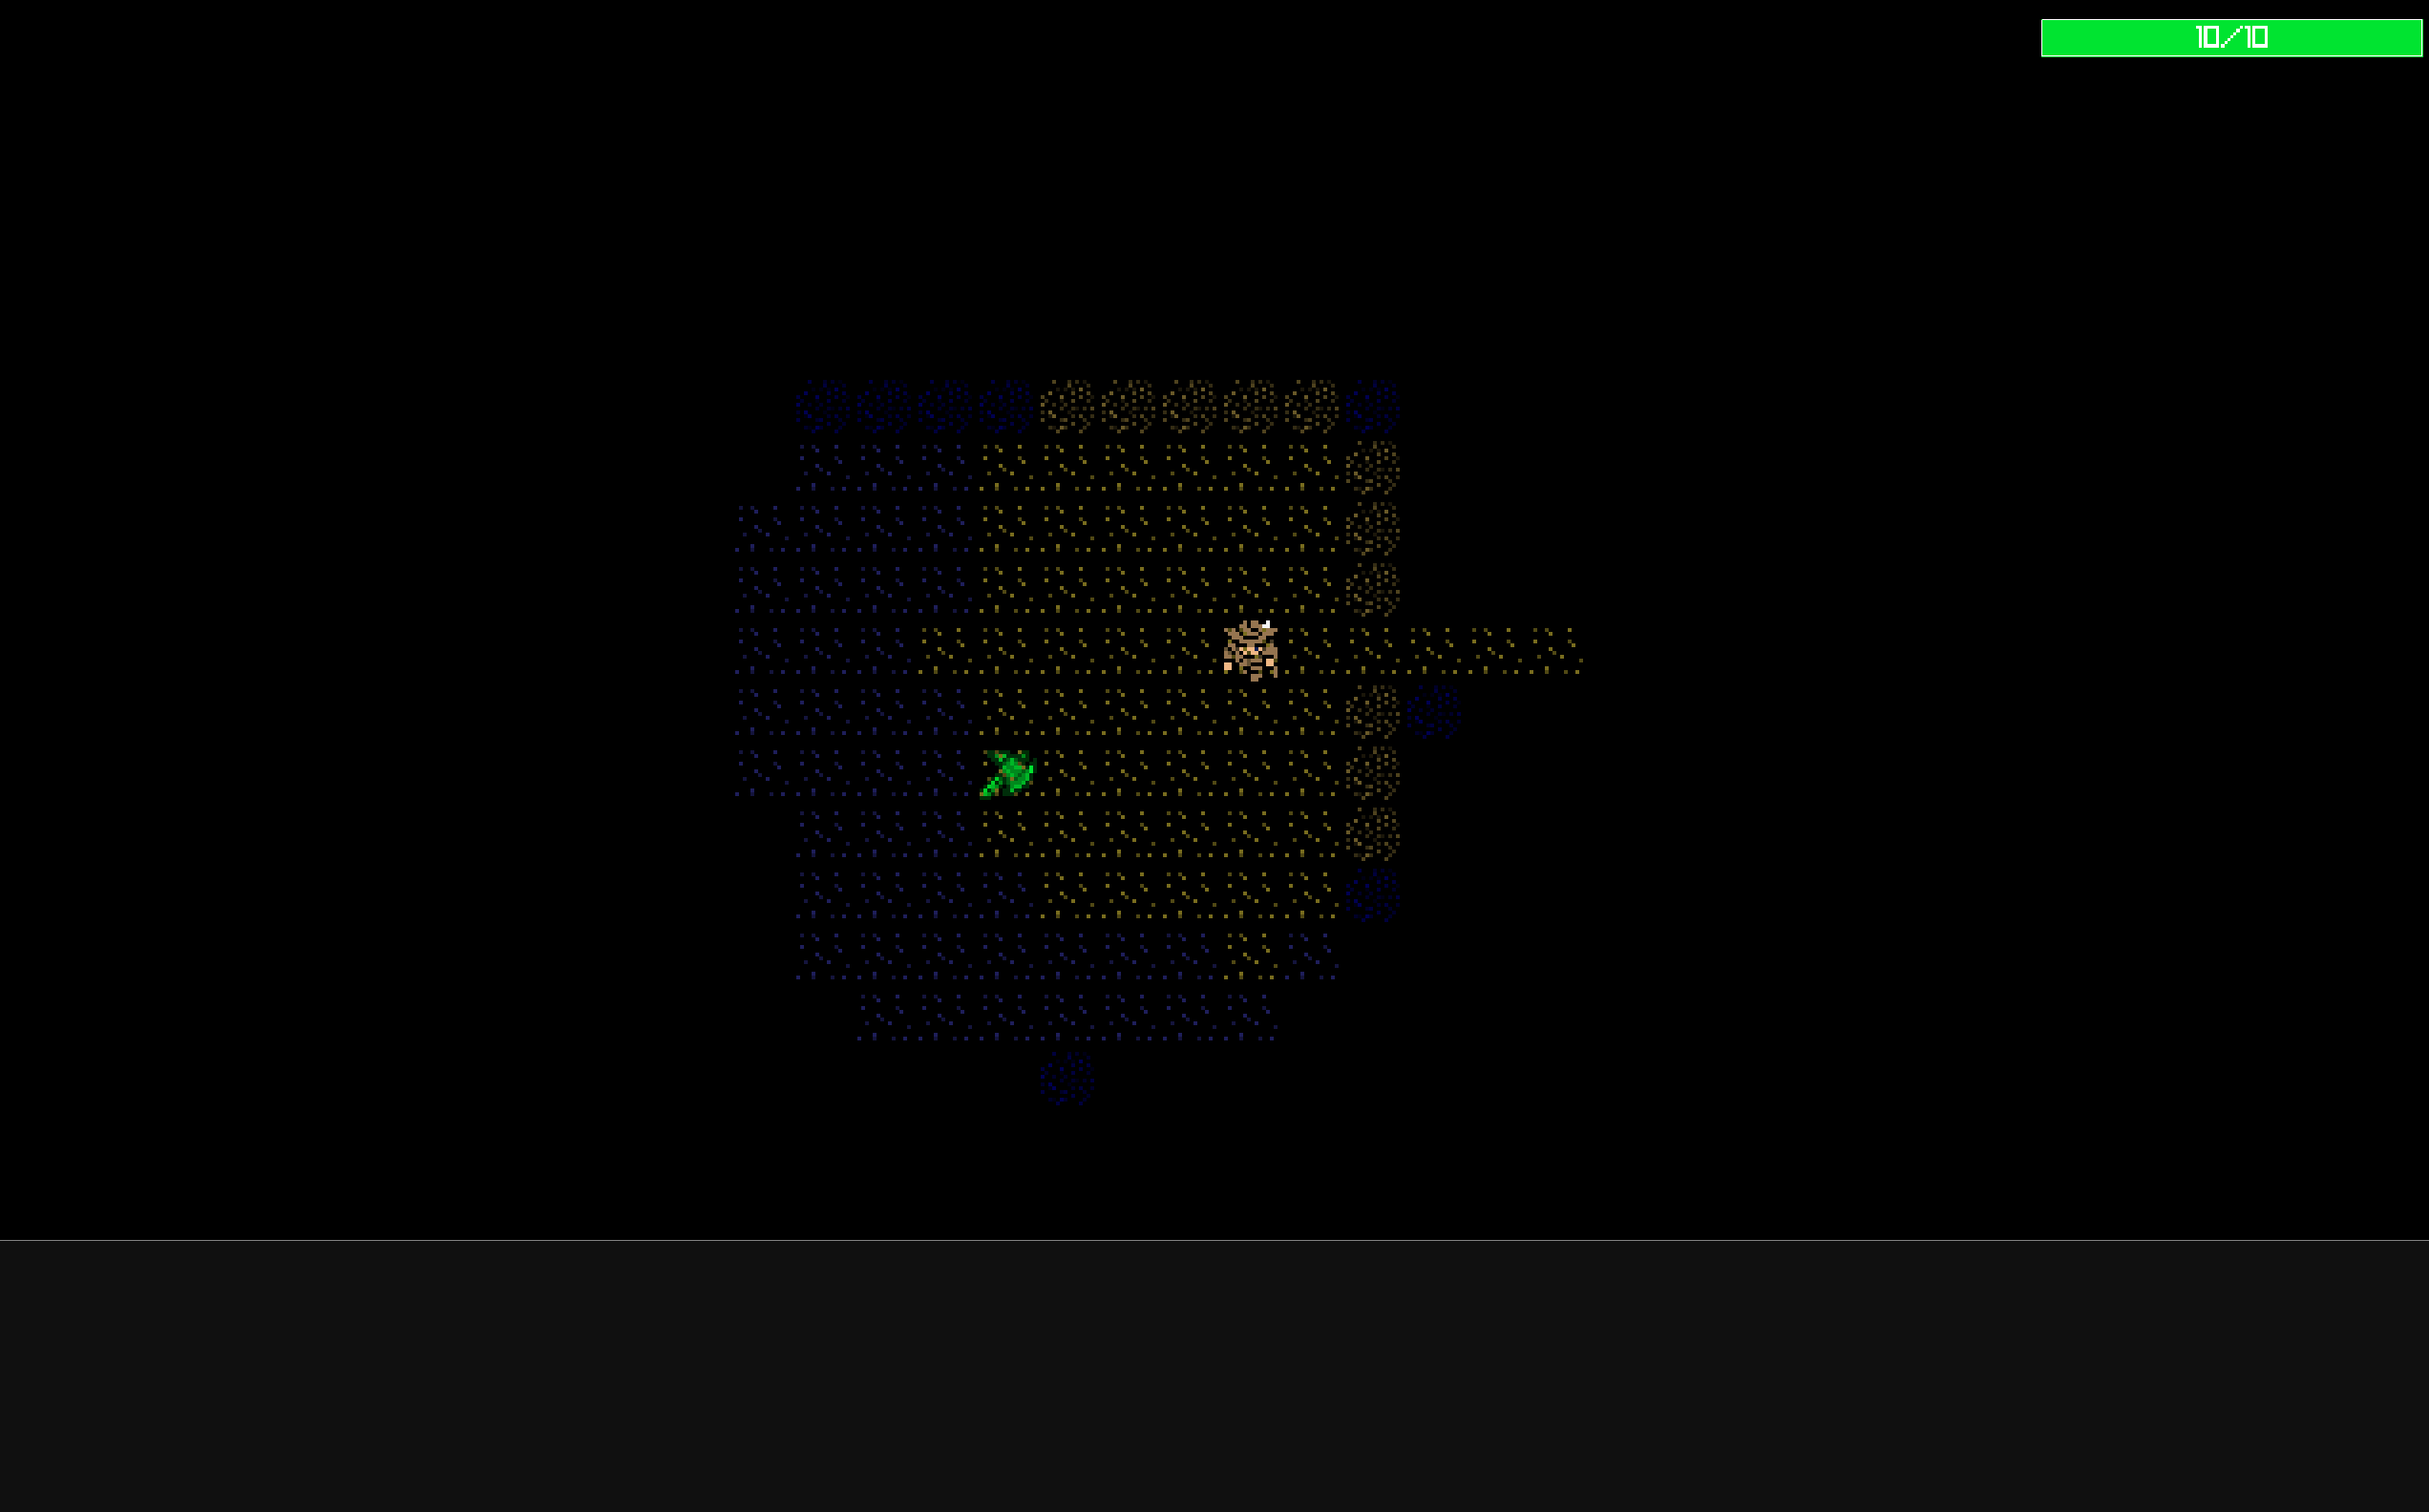
Visible tiles are crystal clear, while visited tiles have a dark color, showing their existence in the map and their absence from the field of view.
Enemy AI
Enemies are quite fun to program. I mainly focused on their movement since combat is somewhat automatic because it happens when the player is adjacent.
The AI works like this:
At each loop cycle, for every enemy:
- Compute the distance from the player
- If the distance is greater than some arbitrary constant (which represents the enemy’s FOV), find a random walkable adjacent tile and move the enemy there
- If the distance is smaller than the FOV constant, it means the player is in sight, so move toward the player
- If the distance is 1, the player is adjacent, so the enemy can attack
An interesting design choice is to set a distance that is greater than the player’s FOV so the enemy starts moving toward the player before the player can see them. The player senses the danger immediately.
for (self.enemies.items) |*enemy| {
    const dx: f32 = self.player.position.x - enemy.position.x;
    const dy: f32 = self.player.position.y - enemy.position.y;
    const chebyshev_distance = @divFloor(@max(@abs(dx), @abs(dy)), self.tileset.tile_size);
    const enemy_tile_pos = self.worldPositionToTilePosition(enemy.position);
    const can_see_player = self.visible_tiles_points.contains(enemy_tile_pos) or
                          chebyshev_distance <= sight_range;

    if (chebyshev_distance == 1.0) {
        var player_combat_component = self.player.combatComponentWithBonuses();
        const combat_result = combat.simpleSubtraction(
            enemy.combat_component,
            &player_combat_component
        );
        self.player.combat_component.hp = player_combat_component.hp;
        self.hud.addMessage(
            "{s} hits you for {} damage!",
            .{ enemy.name, combat_result.damage_dealt },
            hud.HUDMessageType.Damage
        ) catch {};
    } else if (can_see_player and chebyshev_distance <= threshold_distance) {
        const target_pos = moveToward(enemy.position, self.player.position, self.tileset.tile_size);
        if (self.isPositionWalkable(target_pos)) {
            enemy.position = target_pos;
        } else {
            self.moveEnemyRandomly(enemy) catch {};
        }
    } else {
        self.moveEnemyRandomly(enemy) catch {};
    }
}
The distance is computed using the Chebyshev formula. It’s an interesting metric that is also called chessboard distance due to the fact that a chessboard is essentially a coordinate space. According to Wikipedia, this metric is also applied in warehouse logistics and CAM (Computer Aided Manufacturing).
The combat result resolution shown here is another key component of a roguelike…
Combat
The combat system is quite simple and I didn’t spend too much time on it. But I laid some groundwork to support more than one algorithm for computing combat results.
This also led me to think about refactoring the whole project using an Entity Component System (ECS) architecture, since it becomes quite natural to compute combat results between two CombatComponents instead of creating functions like player_hit_enemy(player, enemy) and enemy_hit_player(enemy, player). A single compute_combat(attacker, defender) function is more generic and reusable.
I started working on the ECS implementation but stopped after defining some basic components. I felt that switching to ECS could take up a lot of time. Maybe for a future roguelike.
pub fn simpleSubtraction(
    attacker: component.CombatComponent,
    defender: *component.CombatComponent
) CombatResult {
    const raw_damage = attacker.power - defender.defense;
    const final_damage = @max(1, raw_damage);

    defender.takeDamage(final_damage);

    return CombatResult{
        .damage_dealt = final_damage,
        .attacker_hp_after = attacker.hp,
        .defender_hp_after = defender.hp,
        .attacker_died = attacker.isDead(),
        .defender_died = defender.isDead(),
    };
}
I’ve provided only one type of combat resolution algorithm but it can be replaced with other implementations. In fact here I would have liked something like a Strategy Pattern in order to switch to one type or another.
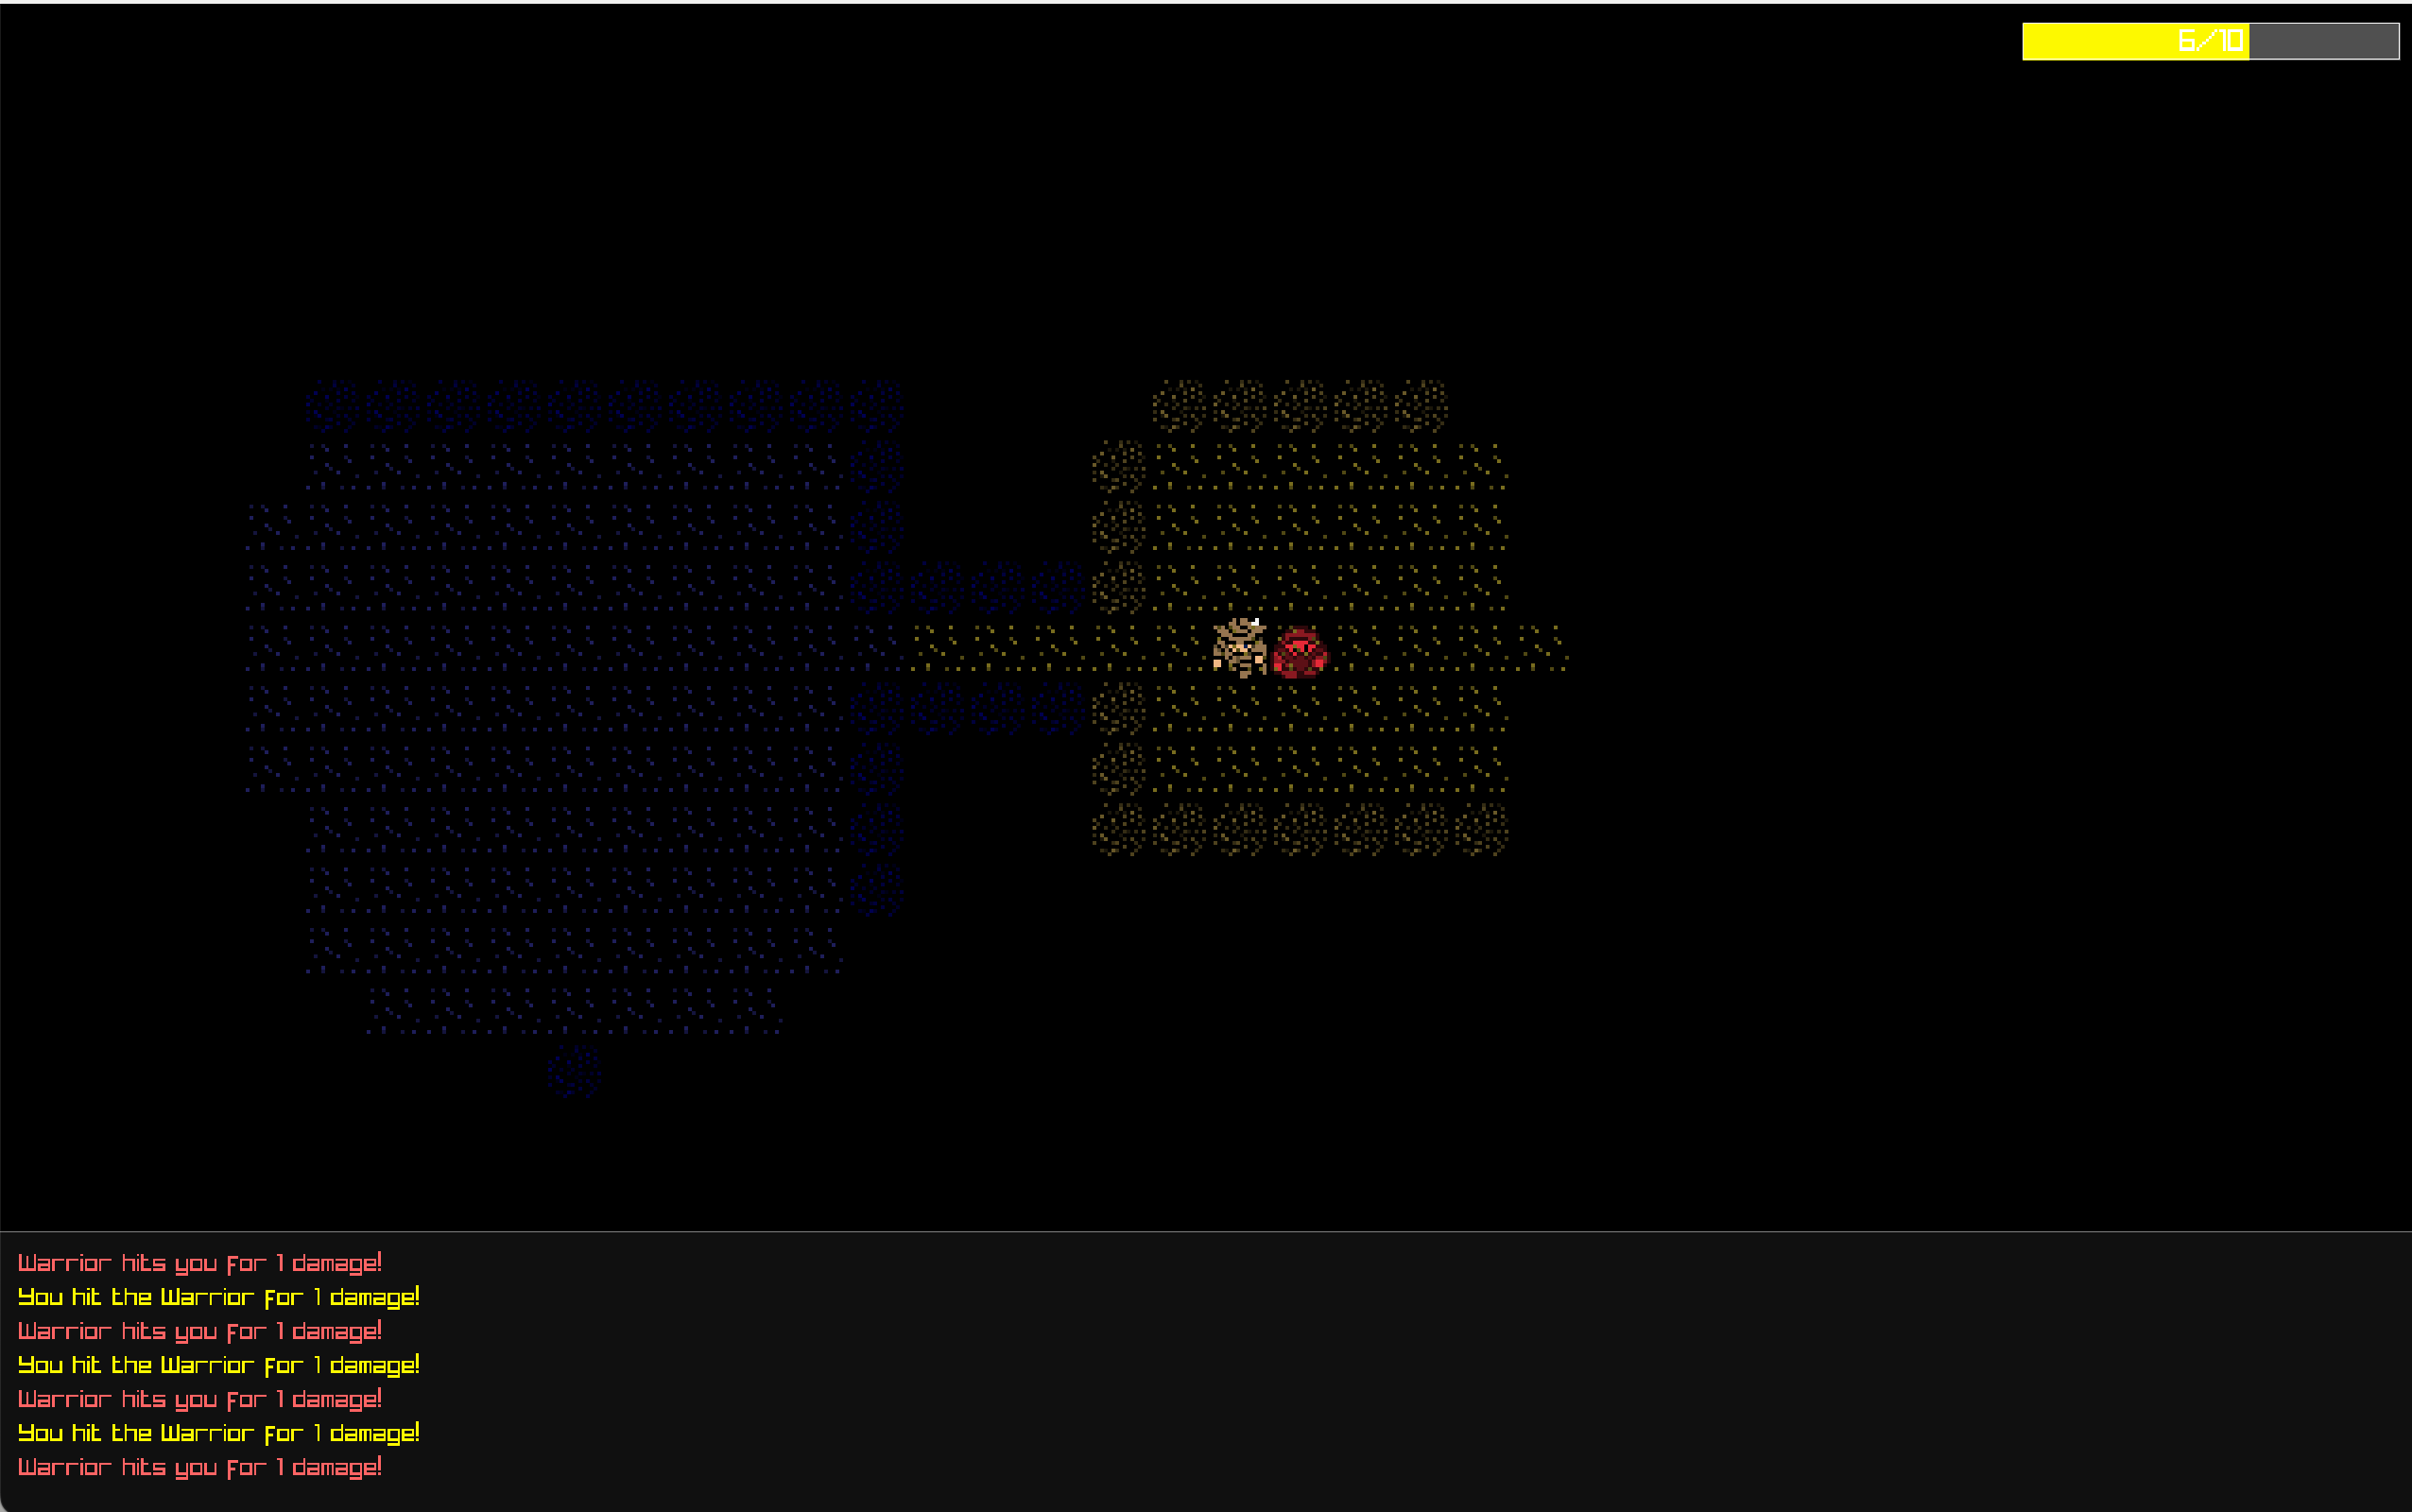
A game log gives the player a kind of feedback on what’s happening in the game.
Wrapping Up
Overall, the experience has been quite enjoyable. I barely scratched the surface of Zig, but I felt that this project didn’t utilize it at its maximum potential. The graphics are really simple, and there isn’t a single chunk of code that would require such low-level handling of systems.
But this was a pure experiment and fun project to learn more about Zig and roguelikes which I enjoy playing. If I think about remaking it in another technology and extending it to something more complex on the game design part, I would probably choose something on a higher level of abstraction without sacrificing anything significant on the performance side. There are more complex games built with Java, C#, Python, or Lua that don’t face slowdowns or similar issues.